
無料の GeoIP アカウントを作成して利用する
GeoIP は無料でもIPアドレスで国判別をする場合などには重宝するサービスであり、GeoIP を利用した多くのパッケージが存在する。
そこで今回は、無料の GeoIP アカウントを作成し、簡単な利用方法などを説明する。
無料アカウントを作成する
ここにアクセスして、「how to create one.」からアカウント作成画面に移動する。

「You can sign up for GeoLite2 on our main website.」からアカウント作成画面へ移動
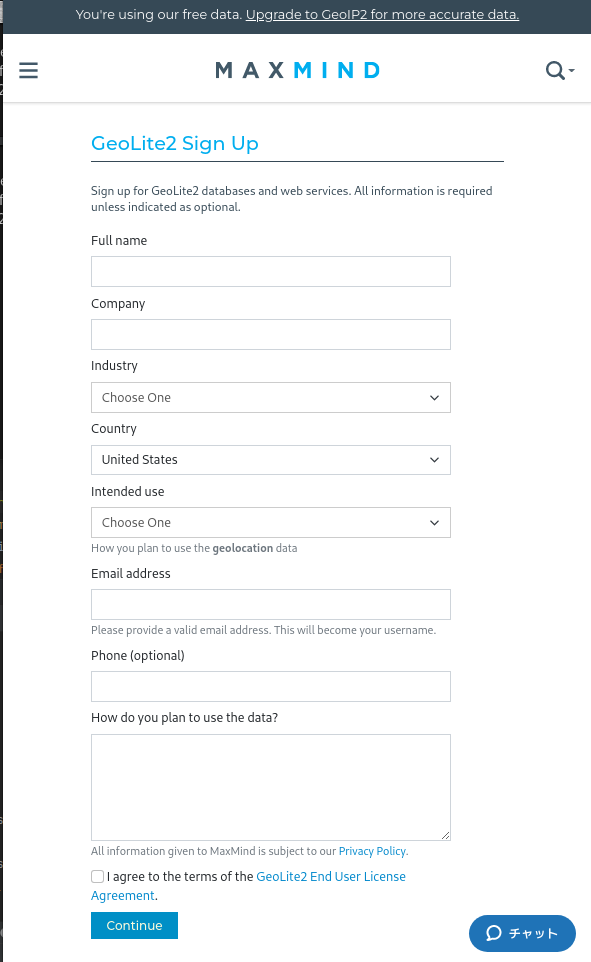
名前や会社、目的などは日本語でも問題ないし、適当で良い。
ログインした後での「Account」メニューから「Manage License Keys」を選択する。
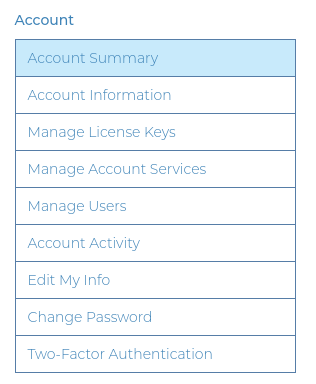
「Generate new license key」を選択し、キーを作成する。

これでアカウントIDとライセンスキーが手に入った。
自動更新を設定する
「geoipupdate」と「geoipupdate-cron」パッケージを入れておく。
「/etc/GeoIP.conf」を編集し、「AccountID」と「LicenseKey」の項目を設定しておく。
テスト
GeoIPデータベースを最新に更新
$ sudo geoipupdate
IP アドレスから国を判定してみる
$ geoiplookup 45.43.37.241
GeoIP Country Edition: US, United States
問題ない様だ。